本博客日IP超过2000,PV 3000 左右,急需赞助商。
极客时间所有课程通过我的二维码购买后返现24元微信红包,请加博主新的微信号:xttblog2,之前的微信号好友位已满,备注:返现
受密码保护的文章请关注“业余草”公众号,回复关键字“0”获得密码
所有面试题(java、前端、数据库、springboot等)一网打尽,请关注文末小程序

腾讯云】1核2G5M轻量应用服务器50元首年,高性价比,助您轻松上云
相信已经有不少人上手了 webflux,包括我之前也写了很多类似的整合教程,但是在整合 swagger 框架方面,我还是第一次尝试。
webflux 和 springmvc 不同,webflux 返回的 Mono、Flux 不能被 swagger 框架正常识别。因此我们要引入 springfox-spring-webflux,否则的话需要写很多的适配代码,才能让 swagger 兼容 Mono、Flux。
下面我们一起开始本次教程的整合之旅,我这里的 swagger 版本是 3.0.0,2.10.x 版本的也可以整合,具体看你个人兴趣和你使用的 spring-boot-starter-webflux 版本。

首先是 pom.xml 中的代码。
<dependencies>
    <dependency>
        <groupId>org.springframework.boot</groupId>
        <artifactId>spring-boot-starter-webflux</artifactId>
        <version>2.1.0.RELEASE</version>
    </dependency>
    <dependency>
        <groupId>org.springframework.boot</groupId>
        <artifactId>spring-boot-starter-data-mongodb</artifactId>
        <version>2.1.0.RELEASE</version>
    </dependency>
    <dependency>
        <groupId>io.springfox</groupId>
        <artifactId>springfox-spring-webflux</artifactId>
        <version>${swagger.version}</version>
        <exclusions>
            <exclusion>
                <groupId>org.springframework.plugin</groupId>
                <artifactId>spring-plugin-core</artifactId>
            </exclusion>
            <exclusion>
                <groupId>org.springframework.plugin</groupId>
                <artifactId>spring-plugin-metadata</artifactId>
            </exclusion>
        </exclusions>
    </dependency>
    <dependency>
        <groupId>io.springfox</groupId>
        <artifactId>springfox-swagger2</artifactId>
        <version>${swagger.version}</version>
        <exclusions>
            <exclusion>
                <groupId>org.springframework.plugin</groupId>
                <artifactId>spring-plugin-core</artifactId>
            </exclusion>
            <exclusion>
                <groupId>org.springframework.plugin</groupId>
                <artifactId>spring-plugin-metadata</artifactId>
            </exclusion>
        </exclusions>
    </dependency>
    <dependency>
        <groupId>io.springfox</groupId>
        <artifactId>springfox-swagger-ui</artifactId>
        <version>${swagger.version}</version>
    </dependency>

    <dependency>
        <groupId>org.springframework.plugin</groupId>
        <artifactId>spring-plugin-core</artifactId>
        <version>2.0.0.RELEASE</version>
    </dependency>
    <dependency>
        <groupId>org.springframework.plugin</groupId>
        <artifactId>spring-plugin-metadata</artifactId>
        <version>2.0.0.RELEASE</version>
    </dependency>
</dependencies>
pom 中引入 springfox-spring-webflux 后,我们需要把 spring-plugin-core 排除掉,否则会启动报错,抛出下面类似的异常。
2021-06-16 14:52:05.782 ERROR 2368 --- [           main] o.s.b.d.LoggingFailureAnalysisReporter   :

***************************
APPLICATION FAILED TO START
***************************

Description:

An attempt was made to call a method that does not exist. The attempt was made from the following location:

    springfox.documentation.spring.web.plugins.DocumentationPluginsManager.createContextBuilder(DocumentationPluginsManager.java:154)

The following method did not exist:

    org.springframework.plugin.core.PluginRegistry.getPluginOrDefaultFor(Ljava/lang/Object;Lorg/springframework/plugin/core/Plugin;)Lorg/springframework/plugin/core/Plugin;

The method's class, org.springframework.plugin.core.PluginRegistry, is available from the following locations:

    jar:file:/C:/work/maven/mymaven/repo/org/springframework/plugin/spring-plugin-core/1.2.0.RELEASE/spring-plugin-core-1.2.0.RELEASE.jar!/org/springframework/plugin/core/PluginRegistry.class

It was loaded from the following location:

    file:/C:/work/maven/mymaven/repo/org/springframework/plugin/spring-plugin-core/1.2.0.RELEASE/spring-plugin-core-1.2.0.RELEASE.jar


Action:

Correct the classpath of your application so that it contains a single, compatible version of org.springframework.plugin.core.PluginRegistry
为了解决这个问题,我们需要引入更高版本的 spring-plugin-core,就是上面 pom.xml 中最下面的两个依赖项。
做完第一步之后,我们现在需要开启 swagger,网上很多人使用的是 @EnableSwagger2WebFlux 注解,那是因为他们使用的是快照版本,现在的正式版本已经把它废弃掉了 @Deprecated,推荐的还是使用 @EnableSwagger2。
@Configuration
@EnableSwagger2
public class SwaggerWebFluxConfig {
    @Bean
    public Docket createRestApi() {
        return new Docket(DocumentationType.SWAGGER_2)
            .apiInfo(new ApiInfoBuilder()
                    .description("业余草 project")
                    .title("业余草 RESTful APIs")
                    .termsOfServiceUrl("https://www.xttblog.com/")
                    .contact(new Contact("业余草", "https://www.xttblog.com/", "1139057136@qq.com"))
                    .version("1.0.0")
                    .build())
            .select()
            .apis(RequestHandlerSelectors.basePackage("com.xttblog.webflux.demo"))
            .paths(PathSelectors.any())
            .build()
            .genericModelSubstitutes(Optional.class, Flux.class, Mono.class);
    }
}
做完这一步之后,还不行。如果你直接运行项目,访问 swagger,会出现 404。网上很多人说需要开启 @EnableWebFlux 注解,这一步其实是多余的,加上了也还是 404。
@EnableWebFlux
@SpringBootApplication
@ComponentScan(basePackages = {"com.xttblog.webflux.demo"},
        excludeFilters = @ComponentScan.Filter(type = FilterType.ASSIGNABLE_TYPE,
                classes = {}))
public class XttblogApplication {

    public static void main(String[] args) {
        SpringApplication.run(XttblogApplication.class, args);
    }
}
一番搜索后,我在官网上看到了 WebFluxConfigurer,通过配置实现 WebFluxConfigurer 后,可以完美解决 webflux 整合 swagger 出现 404 问题。
@Configuration
public class SwaggerUiWebFluxConfigurer implements WebFluxConfigurer {
    @Override
    public void addCorsMappings(CorsRegistry registry) {
        // 配置跨域
        registry.addMapping("/**").allowedOrigins("*").allowedMethods("GET", "POST", "OPTION", "DELETE").maxAge(3600);
    }

    @Override
    public void addResourceHandlers(ResourceHandlerRegistry registry) {
        // 重新映射路径
        registry.
                addResourceHandler("/swagger-ui/**")
                .addResourceLocations("classpath:/META-INF/resources/webjars/springfox-swagger-ui/")
                .resourceChain(false);

        registry.addResourceHandler("/swagger-ui.html**")
                .addResourceLocations("classpath:/META-INF/resources/");

        registry.addResourceHandler("/webjars/**")
                .addResourceLocations("classpath:/META-INF/resources/webjars/").resourceChain(true);
    }
}
网上有很多野代码,都是基于 3.0 的快照版本,根本就无法解决 404 问题,包括 stackoverflow 的回答。
因为 3.0.0 的正式版本中,访问路径是 http://localhost:8080/swagger-ui/index.html,且这些 swagger 资源是放在 classpath:/META-INF/resources/webjars/springfox-swagger-ui/ 下面的,很多回答是把资源放在 classpath:/META-INF/resources/ 下,并且映射的是 swagger-ui.html。这是低版本的 swagger 的做法,正式版本和快照版本还是有很大差别的,官网上修复了很多 bug。
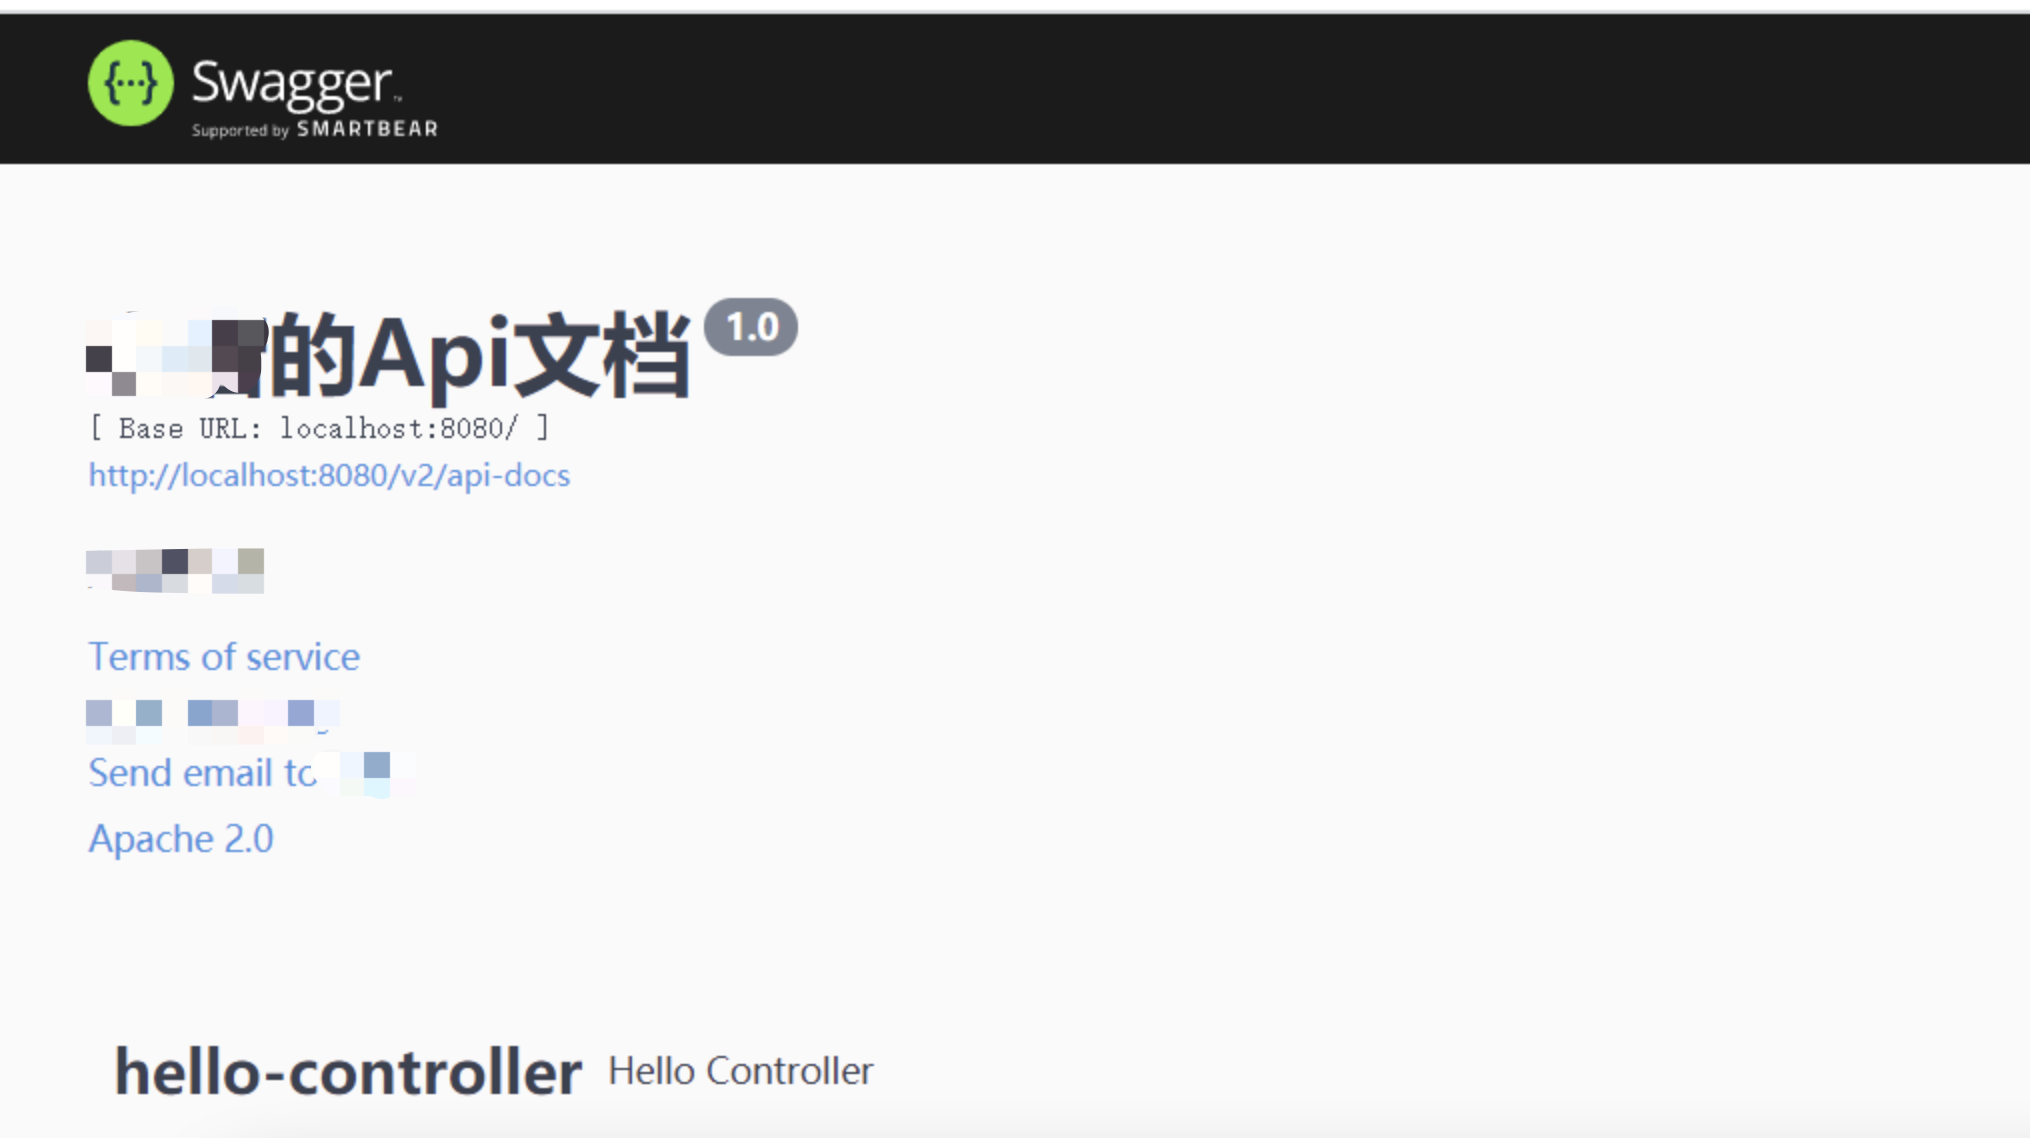
做完上面的工作后,启动项目,最终实现 weblux 和 swagger3 的整合,推荐使用正式版本的 springfox-spring-webflux。

更多关于 webflux 的实战教程,参考《webflux从入门到精通》。官网教程地址:https://springfox.github.io/springfox/docs/current/

最后,欢迎关注我的个人微信公众号:业余草(yyucao)!可加作者微信号:xttblog2。备注:“1”,添加博主微信拉你进微信群。备注错误不会同意好友申请。再次感谢您的关注!后续有精彩内容会第一时间发给您!原创文章投稿请发送至532009913@qq.com邮箱。商务合作也可添加作者微信进行联系!
本文原文出处:业余草: » webflux整合swagger教程
